Installing a roof rack on a Toyota Highlander can be straightforward. This guide will help you get it done quickly.
Roof racks are great for carrying extra luggage, bikes, or kayaks. They make your trips more convenient by freeing up space inside your car. But, installing one can seem challenging if you’ve never done it before. Don’t worry! With the right tools and steps, you can install a roof rack on your Highlander with ease.
This guide will walk you through the process, offering clear instructions and useful tips. Whether you’re a DIY enthusiast or a newbie, you’ll find this guide helpful. Ready to start? Let’s get that roof rack installed!

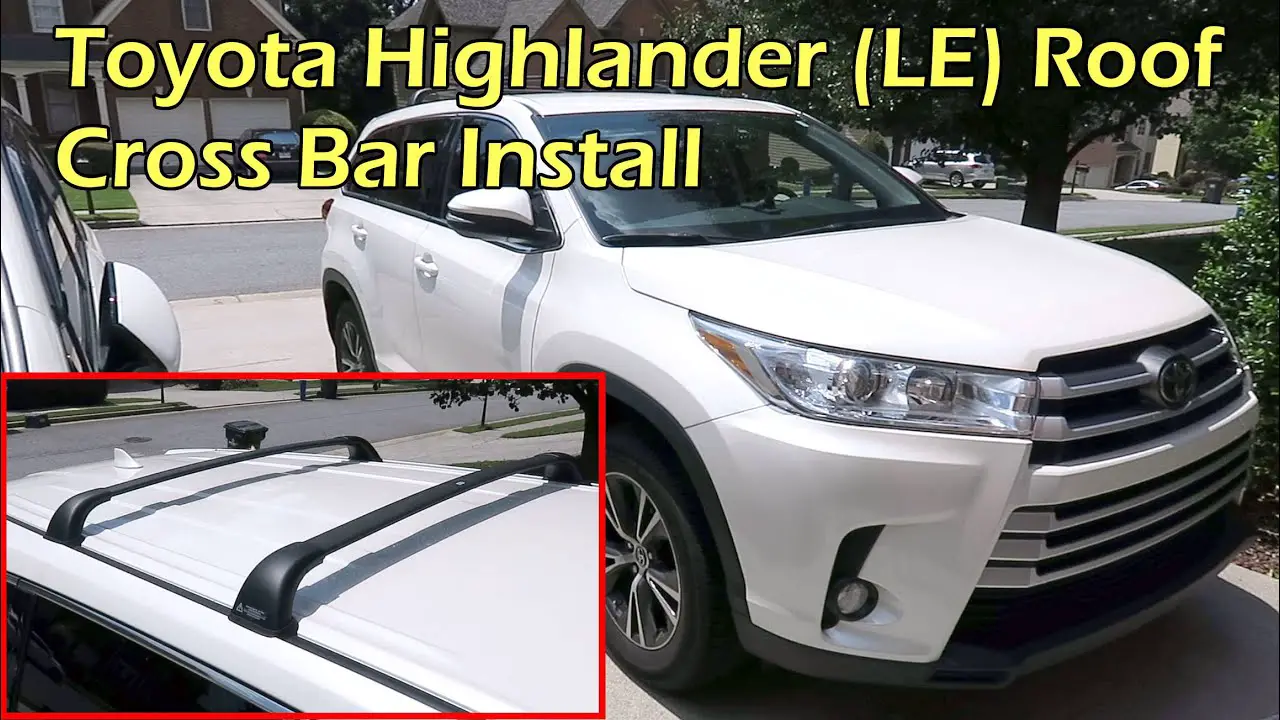
Credit: www.youtube.com
Types Of Roof Racks
When installing a roof rack on your Toyota Highlander, understanding the types of roof racks available is crucial. Different types offer various features and benefits. This section will cover the two main types: factory roof racks and aftermarket roof racks.
Factory Roof Racks
Factory roof racks come pre-installed on some Toyota Highlander models. They are designed by the manufacturer to fit the vehicle perfectly. These racks are easy to use and require no additional adjustments. They offer a sleek look that matches the car’s design. Factory roof racks are built for durability and reliability. They can handle most cargo needs for your trips.
Aftermarket Roof Racks
Aftermarket roof racks are purchased separately and installed by the owner. They offer more flexibility and customization options. You can choose from various brands and styles. These racks can be tailored to specific needs like carrying bikes or kayaks. Installation might require some tools and effort. However, many find it worth the extra work for the added versatility. With aftermarket roof racks, you can select the perfect setup for your outdoor adventures.

Credit: www.amazon.com
Tools And Materials Needed
Installing a roof rack on your Toyota Highlander can seem daunting. But with the right tools and materials, the process becomes straightforward. This section will detail the essential tools and required materials needed for a successful installation.
Essential Tools
Having the correct tools ensures a smooth installation. Here are the tools you will need:
- Screwdriver set
- Socket wrench set
- Measuring tape
- Marker or pencil
- Step ladder
Required Materials
Gathering the necessary materials ahead of time saves you from unnecessary trips to the store. Ensure you have the following materials:
- Roof rack kit (compatible with Toyota Highlander)
- Mounting brackets
- Rubber gaskets
- Bolt and nut set
- Instruction manual
With these tools and materials, you are well on your way to installing a roof rack on your Toyota Highlander. Proper preparation leads to a smooth and efficient installation process.
Preparation Steps
Installing a roof rack on your Toyota Highlander can be a simple task. With the right preparation, you can ensure a smooth installation process. Here are the steps you need to follow before starting the installation.
Checking Vehicle Compatibility
First, check if your Toyota Highlander is compatible with a roof rack. Look at the model year and the design of your car’s roof. Some models have factory-installed mounting points. Others need a different type of roof rack system. Refer to your vehicle’s manual for more information.
Gathering Necessary Items
Next, gather all the necessary items for the installation. You will need the roof rack kit, a screwdriver, and a measuring tape. Make sure you have all the parts of the roof rack. Check the kit’s manual to confirm the required tools.
Having everything ready will save you time and effort. It will also help you avoid any interruptions during the installation process.

Credit: www.amazon.com
Installing The Roof Rack
Hey friends, today we’ll walk through how to install a roof rack on your Toyota Highlander. This process is easier than you might think. Follow these steps, and you’ll be ready for your next adventure in no time. Let’s dive in!
Positioning The Roof Rack
First things first, you need to position the roof rack correctly. This step is crucial. Here’s how you do it:
- Place the roof rack on top of your Toyota Highlander. Make sure it’s centered.
- Align the rack with the existing roof rails. This ensures stability.
- Check the distance between the crossbars. They should be even.
Why is this important? Because a properly positioned rack distributes weight evenly. This helps in avoiding damage to your car roof.
Securing The Mounting Brackets
Next, we need to secure the mounting brackets. This keeps the roof rack firmly in place. Follow these steps:
- Attach the mounting brackets to the roof rack.
- Use the bolts provided in the kit. Tighten them with a wrench.
- Make sure the brackets are snug. They should not wobble.
Personal tip: I recently helped my neighbor with his roof rack. We found that double-checking each bolt prevented any later adjustments. So, take your time here.
And there you have it! You’ve successfully installed your roof rack. Whether you’re carrying bikes, kayaks, or luggage, your Toyota Highlander is now adventure-ready. Happy travels!
Adjusting And Tightening
So, you’ve got your roof rack ready for your Toyota Highlander. Great choice! Now, it’s time to ensure everything is perfectly in place. Adjusting and tightening the roof rack is crucial. It guarantees that your rack is secure and stable. Let’s dive into the details of aligning and tightening the roof rack.
Aligning The Roof Rack
First things first. You need to make sure the roof rack is aligned properly. This step is like putting together a puzzle. Every piece must fit perfectly for the best results. Here’s how you can do it:
- Position the rack: Place the roof rack on top of your Toyota Highlander. Ensure it sits evenly on both sides.
- Check the measurements: Measure the distance between the roof rack and the edges of your car roof. Both sides should be equal.
- Adjust if needed: If the measurements aren’t equal, adjust the rack until they are.
Remember, proper alignment ensures your roof rack is balanced. This balance is key to keeping your items safe during your drive.
Ensuring Stability And Security
Now that you’ve aligned the roof rack, let’s talk about stability and security. Imagine driving on a bumpy road with a loose roof rack. Scary, right? Follow these steps to avoid that nightmare:
- Tighten the bolts: Use a wrench to tighten all the bolts on the roof rack. Make sure they are snug but not overly tight.
- Double-check: Go over each bolt again. Ensure none are loose.
- Test the rack: Give the roof rack a gentle shake. It should not move or wobble.
These steps will help in maintaining the roof rack’s stability. A stable rack means your gear stays secure, no matter where you go.
And there you have it! You’re now ready to hit the road with your roof rack securely installed. Adjusting and tightening might seem tedious, but it’s essential. It ensures your adventures are safe and hassle-free. Happy travels!
Testing The Installation
Hey there! You’ve installed your roof rack on your Toyota Highlander. Awesome job! But wait, before you hit the road, you need to make sure everything is secure and safe. Let’s go through some simple tests to ensure your roof rack is ready for action. This part is crucial. It ensures you don’t run into any problems while driving.
Performing A Load Test
The first step is to perform a load test. This is to check if your roof rack can handle the weight of your luggage or gear.
- Step 1: Start by placing a small load on the rack. Maybe a couple of suitcases or a bike. The idea is to start light.
- Step 2: Gradually increase the load. Add more items until you reach the weight you plan to carry. For example, if you plan to carry camping gear, add items similar in weight.
- Step 3: Observe how the rack handles the weight. Does it stay firm? Any unusual noises? If it feels secure, great! If not, you may need to adjust the installation.
Remember, it’s like testing a new pair of shoes. You wouldn’t go for a long walk without trying them on first, right?
Checking For Any Issues
Next, it’s time to check for any issues. Even small problems can turn into big ones when you’re on the highway.
- Screws and Bolts: Check all screws and bolts. Are they tight? Loose screws can be dangerous.
- Alignment: Look at the alignment of the rack. Is it straight? A misaligned rack can affect your car’s stability.
- Noise Check: Take a short drive. Listen for any strange noises. If you hear rattling, stop and inspect the rack.
Think of it like checking your shoelaces before a run. You wouldn’t want them to come undone, right?
By following these simple steps, you ensure that your roof rack is safe and ready for your adventures. Remember, safety first! Now, you can enjoy your trips without any worries. Happy travels!
Maintenance Tips
Installing a roof rack on your Toyota Highlander is a smart move. It offers extra storage and versatility. But, maintaining the roof rack is key to its durability. Below, find some maintenance tips to keep your roof rack in top shape.
Regular Inspections
Check your roof rack regularly. Look for loose bolts or screws. Ensure all parts are secure. Missing or damaged parts can be dangerous. Make inspections a habit. Do this once a month or before long trips.
Cleaning And Care
Cleaning your roof rack is important. Dirt and grime can cause damage. Use mild soap and water for cleaning. Avoid harsh chemicals. Dry the rack thoroughly after washing. This prevents rust and corrosion.
Pay attention to moving parts. Lubricate them to ensure smooth operation. Use a silicone-based lubricant. Avoid oil-based products. They attract dirt and dust. Proper care keeps your roof rack functioning well.
Frequently Asked Questions
Can You Put A Roof Rack On A Toyota Highlander?
Yes, you can put a roof rack on a Toyota Highlander. Ensure compatibility with your specific model and follow installation guidelines.
Can I Install Roof Racks Myself?
Yes, you can install roof racks yourself. Follow the manufacturer’s instructions closely. Make sure you have the right tools.
Can I Put A Roof Rack On A Car With No Rails?
Yes, you can install a roof rack on a car without rails. Use a roof rack system designed for bare roofs.
Does The Highlander Come With Roof Rails?
Yes, the Toyota Highlander comes with roof rails on most of its trim levels. Check the specific model for details.
Conclusion
Installing a roof rack on your Toyota Highlander is simple. Follow the steps mentioned above. You can carry more gear and travel with ease. Ensure all parts are secure before use. Always check the weight limit and balance. With a roof rack, your adventures get better.
Happy travels and safe driving!
{ “@context”: “https://schema.org”, “@type”: “FAQPage”, “mainEntity”: [ { “@type”: “Question”, “name”: “Can you put a roof rack on a Toyota Highlander?”, “acceptedAnswer”: { “@type”: “Answer”, “text”: “Yes, you can put a roof rack on a Toyota Highlander. Ensure compatibility with your specific model and follow installation guidelines.” } } , { “@type”: “Question”, “name”: “Can I install roof racks myself?”, “acceptedAnswer”: { “@type”: “Answer”, “text”: “Yes, you can install roof racks yourself. Follow the manufacturer’s instructions closely. Make sure you have the right tools.” } } , { “@type”: “Question”, “name”: “Can I put a roof rack on a car with no rails?”, “acceptedAnswer”: { “@type”: “Answer”, “text”: “Yes, you can install a roof rack on a car without rails. Use a roof rack system designed for bare roofs.” } } , { “@type”: “Question”, “name”: “Does the Highlander come with roof rails?”, “acceptedAnswer”: { “@type”: “Answer”, “text”: “Yes, the Toyota Highlander comes with roof rails on most of its trim levels. Check the specific model for details.” } } ] }